Thursday, September 10, 2009

Look! There is fortune all around you


The last eight years have been wrought with a lot of trauma - from 9/11/01 to Katrina to the loss of a friend, a father,  the economy - we've all experienced a lot of personal and collective trauma. And, it's enough to make even the most positive person a cynical mess.

The title of this post "Look! Fortune is all around you" came in a fortune cookie that I ate this week.  This post isn't about politics, it's about gratitude and it's about choosing to be grateful. About recognizing our fortune wherever it comes from and about saying it out loud.

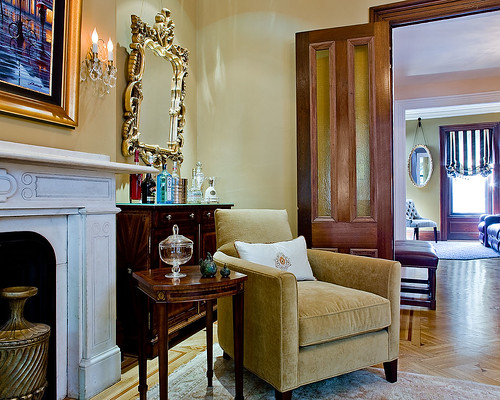
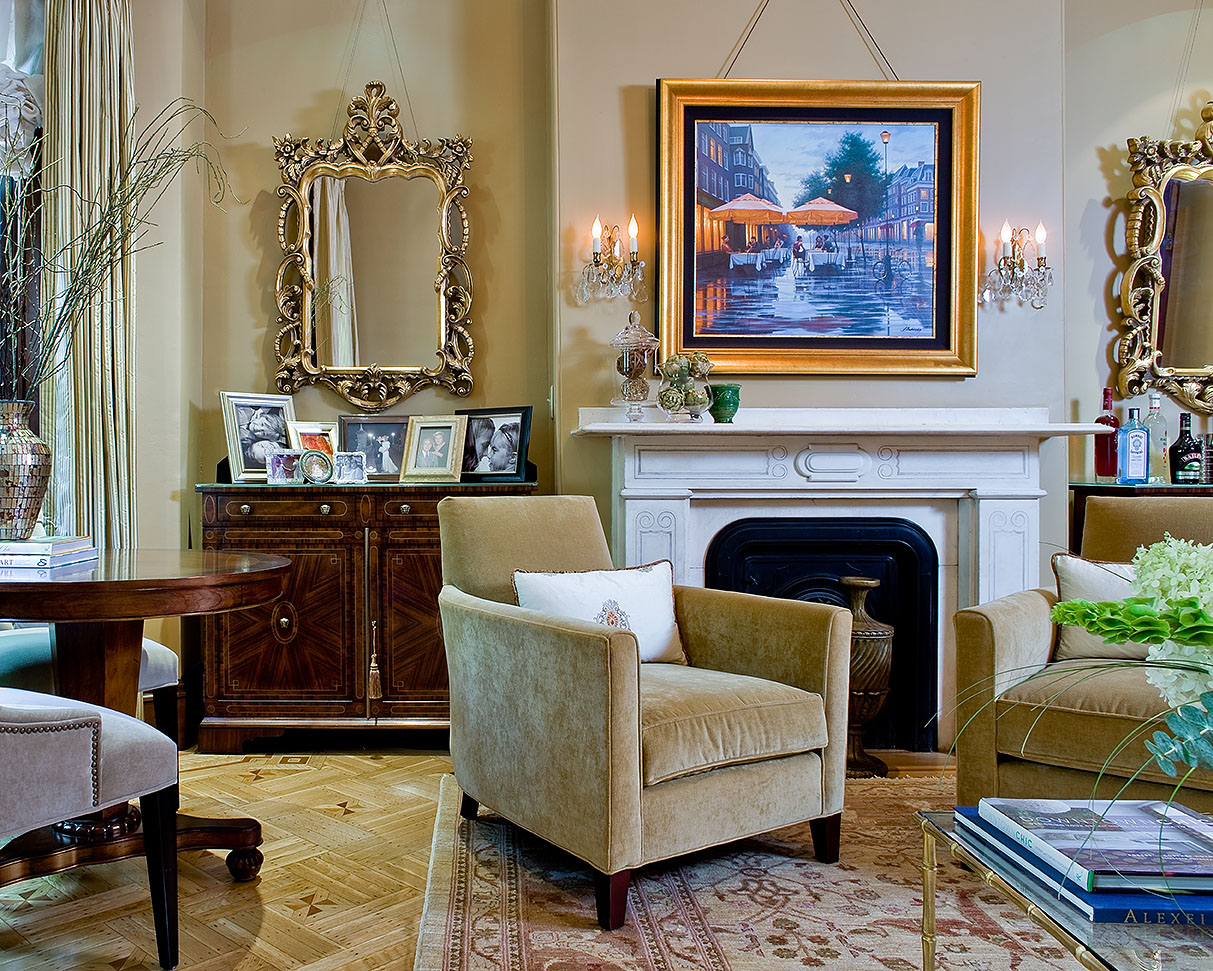
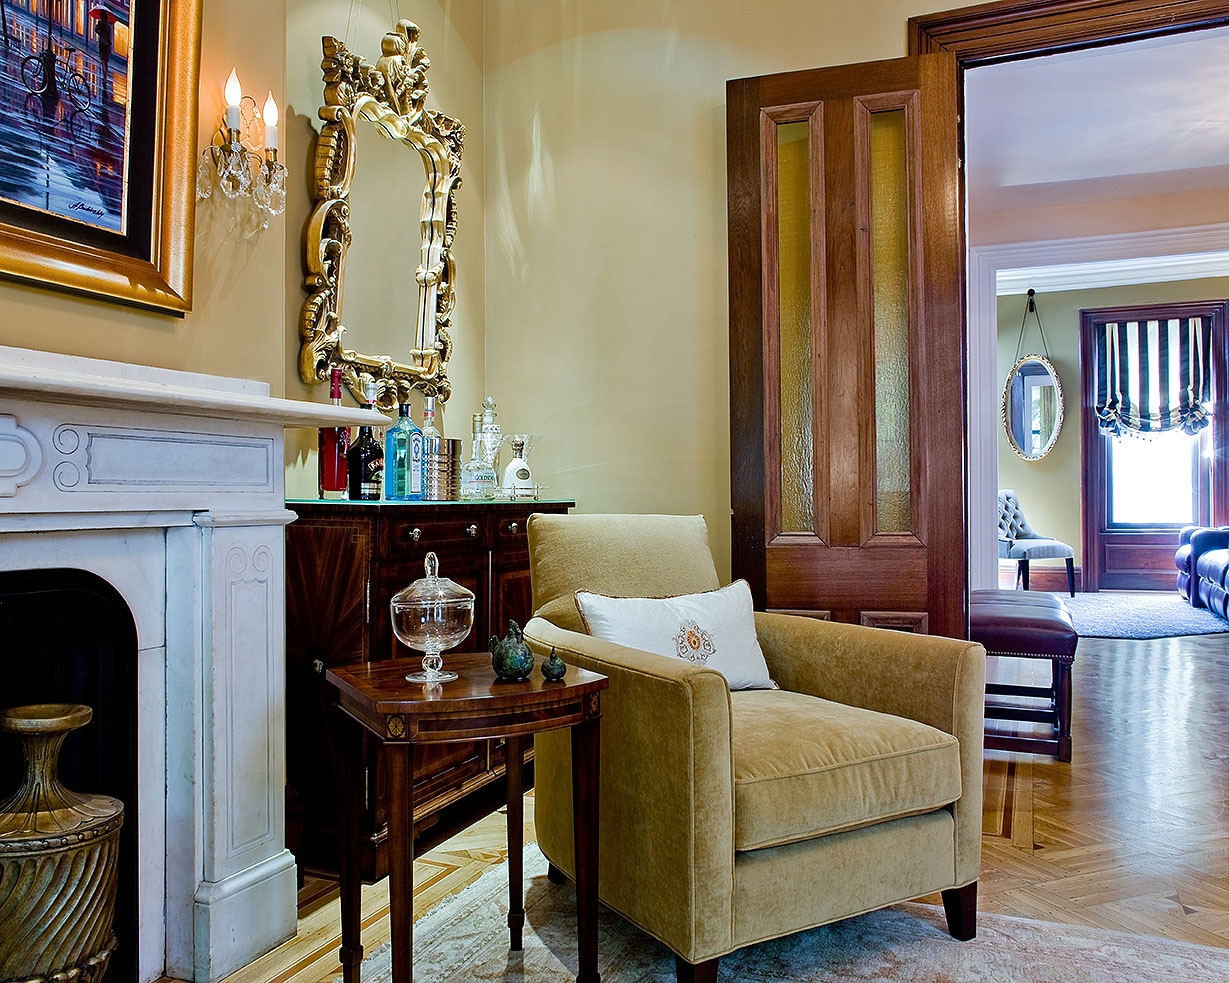
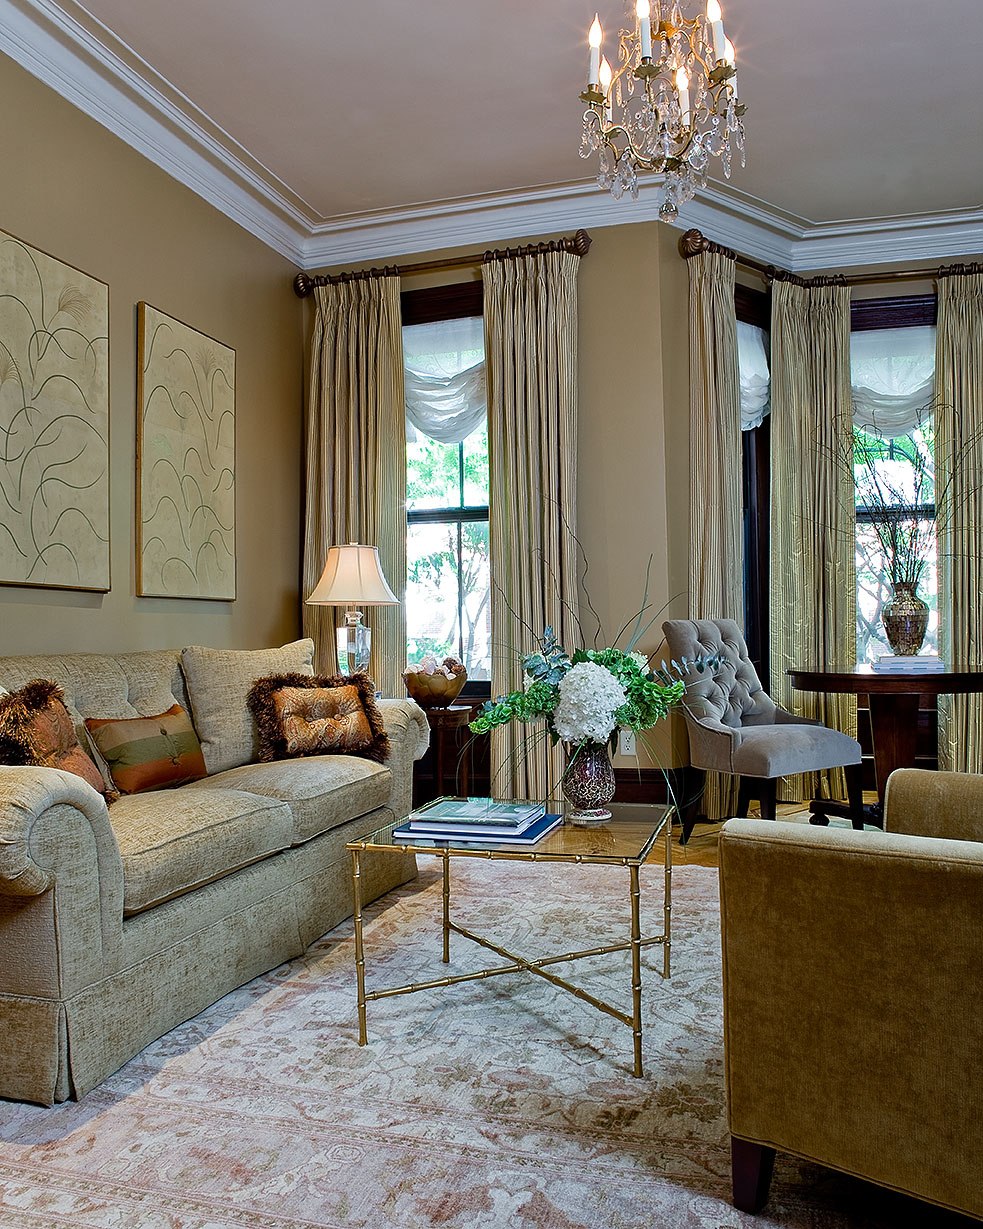
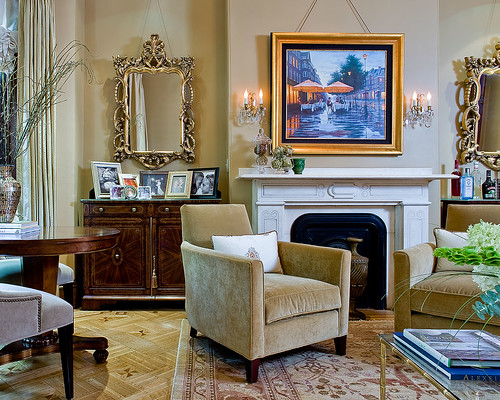
Now, you may be wondering what all this gratitude talk has to do with these pretty pictures of a pretty room.  This is a living room that I decorated nearly two years ago for some lovely clients in Boston. The room was about ninety-five percent completed, but had never really been accessorized - no photos, tchotchkes or art. The clients had other priorities - pesky things like roof work and leaky windows. I'd never taken more than snap shots, which was sad because I loved the room and was so proud of it!

Well, I was lucky enough to be able to book a photo shoot with the amazing photographer Michael J. Lee (I posted about him here and here) in order to use the photos for something that I can't post about now, but will later on in the Fall.

I had about two weeks to get the clients, photographer, accessories and accent pieces all on board in order to make a deadline this week. And everyone was more than supportive and helpful. It was an amazing display of kindness to me.

So, I wanted to express my sincere gratitude to some wonderful people.   The clients didn't yet have a cocktail table and I was able to borrow this spectacular 1940's French gilded bronze glass top table from my friends Diana and Scott Cooper of Trianon Antiques. At 26-1/4" square x 19" h,  it's a small piece, but the room is not large and it was perfect.


I'd like to thank Al Lageux of Beacon Hill Showrooms  for loaning me one of these urns, which was placed in front of the fire place. I told him I was accessorizing a room for a photo shoot and he immediately said - borrow whatever you need.


And I'd like to thank Josh Steinwand at Studio 534 for the loan of this fantastic pair of hand painted Japanese Leaf panels. Josh didn't know me, but he knew Michael Lee and that was enough. Whatever you need - he said.


How nice were all these folks? No pressure to sell, no deposits and no disappointment shown when I returned all these pieces unsold. Just a "thanks for returning them". I was so touched!

Of course, I can't neglect to thank my wonderful clients Bill and Kim who let me swoop in on their lives nearly two years after the room was last worked on. They made some quick changes, painted a wall, added the missing glass inserts in the windows and provided a budget for accessories. Talk about a dream.

And finally, a big thanks to photographer Michael J. Lee for shooting the room. I'll be doing a big post in the next week or so on his work, his process for photographing a space and how we ended up with these fantastic photos.

So, today, I am putting my gratitude out there - it was only due to the kindness of all these folks that in two short weeks I had the most beautiful photographs of this project. Lucky, lucky me. 


 Subscribe to ::Surroundings::


Wednesday, September 9, 2009

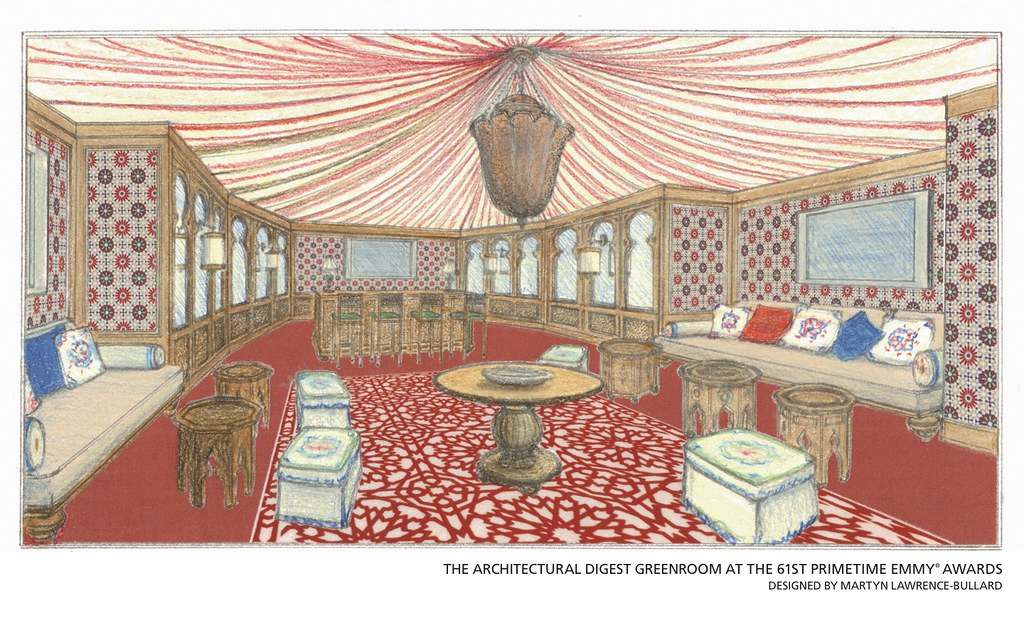
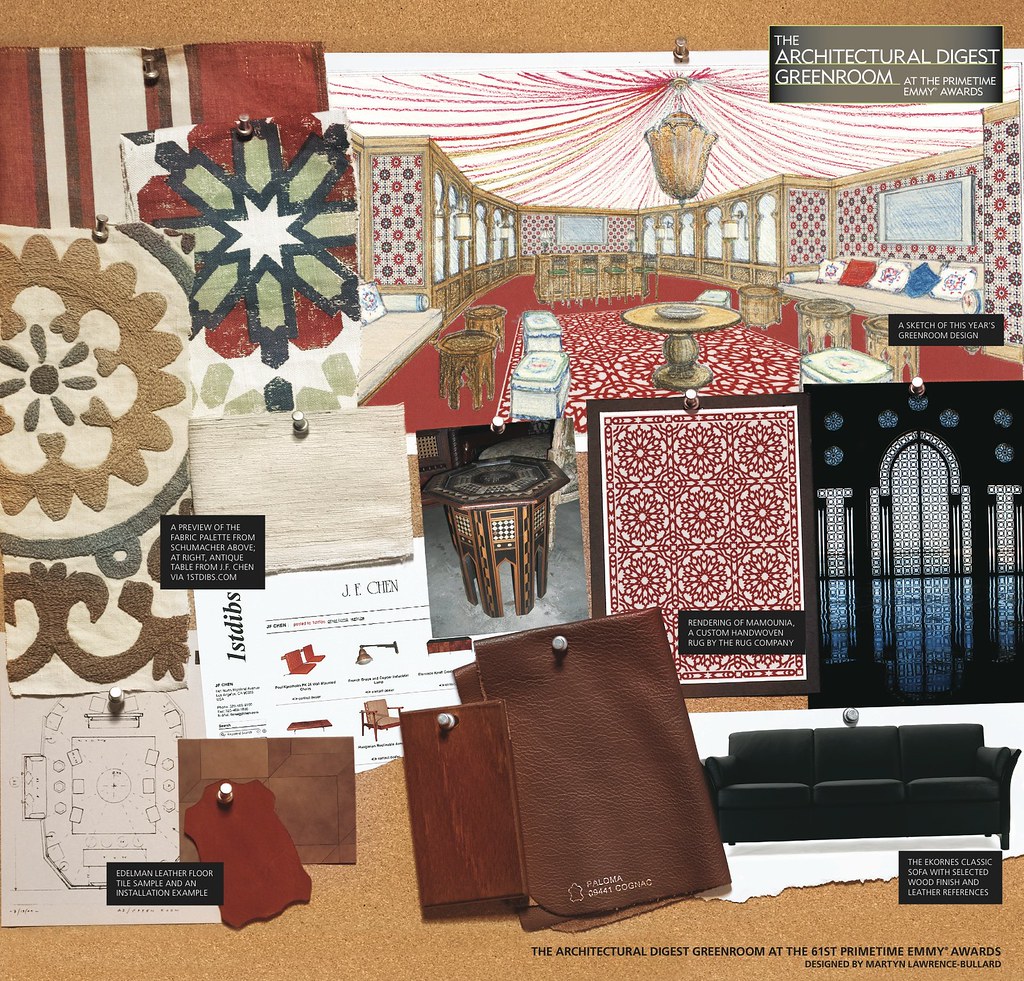
Architectural Digest Emmy Awards Green Room design


For the eighth year, AD has sponsored the Green Room at the Emmy® Awards. This year's Moroccan themed green room has been designed by Martyn Lawrence-Bullard, one of AD's top 100 designers.


Click to view larger image

photo by Matt Shayles

 Photo credit: Craig T. Mathew/Mathew Imaging

To learn more about the design process and what's going on behind the scenes, check out the AD Green Room blog.

And stay tuned for the Emmy show on Sunday, September 20th. Go Mad Men!!


Subscribe to ::Surroundings::

Tuesday, September 8, 2009

Linda's kitchen: Holes in the ceiling and a skim coat

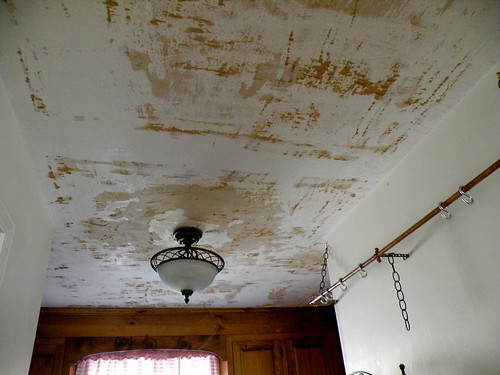
So, last week, I reported that we'd scraped off the popcorn from my kitchen ceiling. It was quite a mess and I was wondering if we'd be able to get the ceiling into good enough shape to paint (vs. cover up with beadboard or wallpaper).

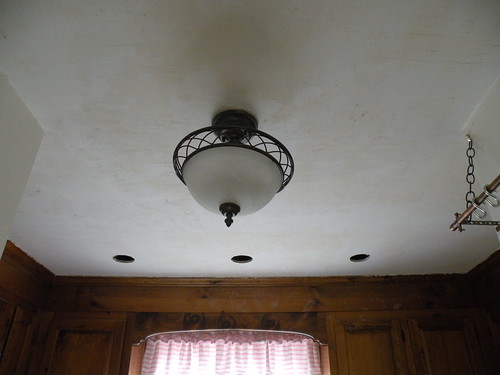
Well, this weekend, we cut out three holes for recessed lights and put up the first coat of skim coat (joint compound) and I think it's looking pretty good!
Now, before anyone asks about the placement of the recessed lights - yes, I do know they are off center. We had a dilemma. The center of the window/sink is not centered on the kitchen. When the original builders put up the overhead light fixture, they made some kind of attempt at centering it on the ceiling, but they missed and it's neither centered on the ceiling or in front of the window. To add to that, the space above the kitchen is where the central air machinery is - right over the pendant light junction box. So, moving that light to center it wasn't an easy option and we opted to leave it as is. So, I decided to line up the center recessed fixture with the pendant and snug the outer lights somewhere between the center light and cabinets. Which made sense, until we realized there is an unfortunately placed stud, which put the kibosh on that idea. So, the two lights needed to be moved closer to the center, which meant to my eye that they needed to be equa-distant to the center. Or, thereabouts. Make sense? There was no obvious solution that wasn't going to bother my sense of balance, but the deed is done.

And get a load of that fantastic skim coat! One more skim, then prime - then paint! Well, after new moldings are put up, the cabinets are painted (inside and out) and the recessed lights are added. I need the patented Eddie Ross energy drink (Facebook joke).

For the time being, I will be keeping the existing ceiling fixture (it's way down on the list of necessities). But a girl can dream...


via me at the Edith Wharton house


Subscribe to ::Surroundings::


Sunday, September 6, 2009

Sponsor Love: SofaSofa

I wanted to take a little moment to thank one of my sponsors SofaSofa for their continued support of ::Surroundings::. While most blogs don't make a lot of money via sponsors, what we do make goes a long way to offset the standard blogger's expenses of computer, camera and coffee. SofaSofa, not surprisingly, sells sofas in the UK. They are not just another website selling sofas, however, but a UK based manufacturer. They make all their own furniture and deliver it direct to the consumer, eliminating several layers of middle man cost. Delivery is, as we would call it in the States, white glove, meaning they set up and remove all packaging. The buyer has the opportunity to inspect the furniture immediately.

Here are a few of their sofas that I find particularly appealing:


So, if you're in the U.K. and are looking for a new sofa, check out SofaSofa and tell them I said hi!


Subscribe to ::Surroundings::


Thursday, September 3, 2009

Skirted Roundtable: The Getting to know you tango

Megan, Joni and I chat about establishing client relationships, our offices and how we get to know our clients. Join us!


Subscribe to ::Surroundings::


Tuesday, September 1, 2009

Linda's kitchen: On popcorn, paint and paper


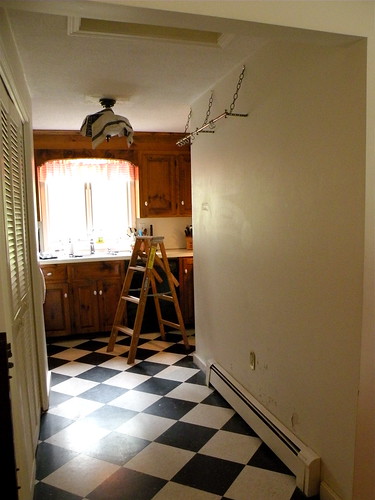
Okay, so the big kitchen remodel (and by big, I mean, lots of work, very DIY weekend warrior) began in earnest this weekend with the removal of the dreaded popcorn ceiling. So, we started where we all must, with clearing out the kitchen. As you can see, small, oddly shaped and not gorgeous.

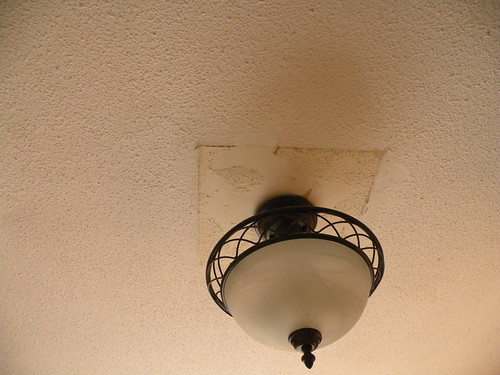
Here is the lovely popcorn. You should have seen the original light fixture. Oh. My. god. It was big, it was square, it was dark brown faux wood, it had 9 light bulbs hanging upside down off it. Could not be more ugly. Too bad I never took a photo of it! You can see its shadow lurking. I'll likely be keeping the existing fixture as I'm not sure I can swing a new one (or at least, one I'd want) at the moment.


Since my building was built in the mid-80's, we decided to go with the belief that there is no asbestos in the popcorn (it was in these ceilings up till the late 70's). Unfortunately, the ceiling had been painted at some point, which makes removal of popcorn significantly harder. But, my very dear friend, and perpetual hero, Rob, took on the challenge and 8 short hours later (give or take lunch breaks and a trip to the hardware store), we have this masterpiece:

It's looking better, no? Yikes. My DIY copper pot rack is looking a little worse for wear as well. (Don't even ask about the dust!!)

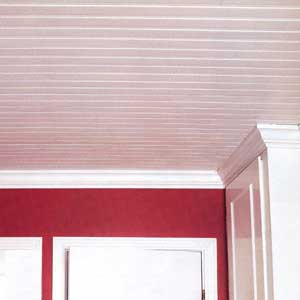
So, the current question is, will we be able to get this ceiling to the point to be able to paint it, or is that an impossibility and will we need to paper? Or, should I go with a bead board ceiling. My real hope is that I can do a beautiful painted ceiling in a pale green, with cream bead board walls and painted cabinets. Here's a roundup of photos I've gathered:

Painted Ceilings


via Alicia B. Designs

Bead Board Ceilings

via Bunny's Closet

Gina Milne's Kitchen via Willow Decor

Victoria Hagen Design via Willow Decor
via This Old House

Wallpapered Ceilings


So, this coming weekend, we're going to be applying a joint compound to the whole ceiling and sanding to see how smooth we can get it. Oh, and we're going to install recessed lighting at some point.

To be continued...


Subscribe to ::Surroundings::


LinkWithin

Related Posts Plugin for WordPress, Blogger...
Get Paid To Promote, Get Paid To Popup, Get Paid Display Banner